


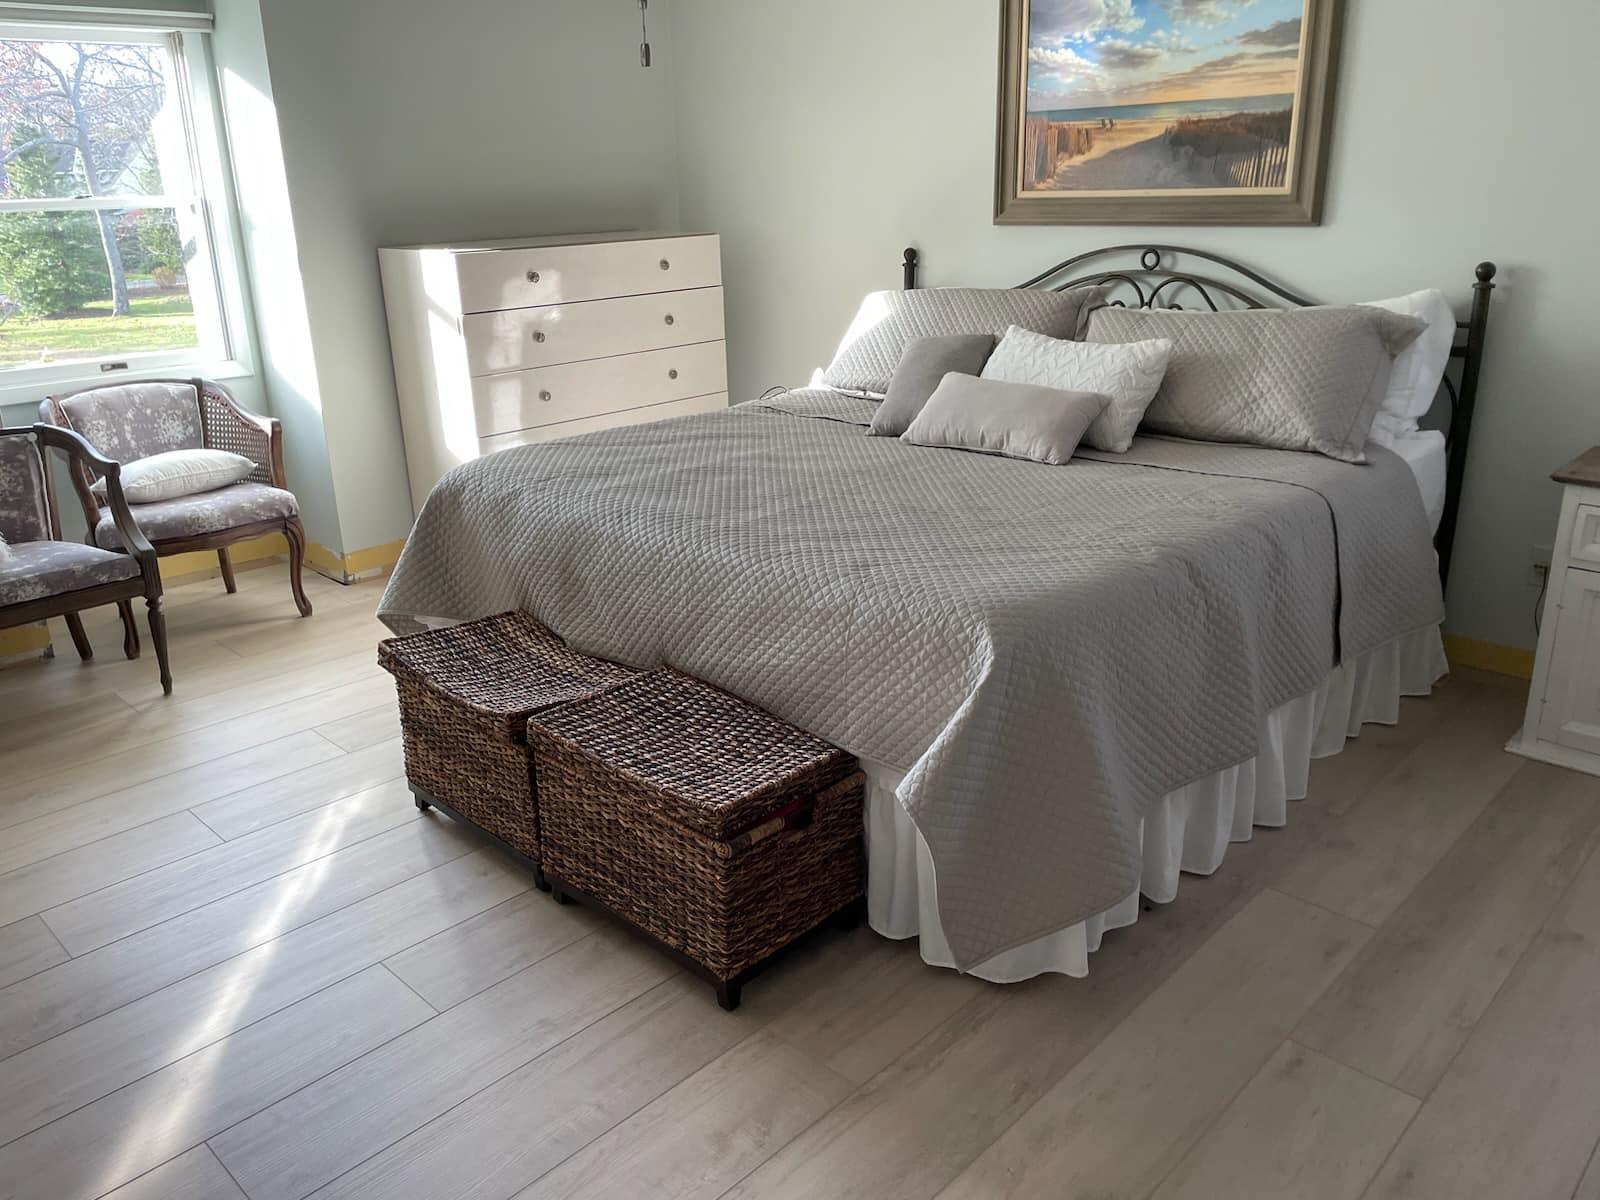
Few things in a home carry the same weight as hardwood. It hosts family dinners, holds up under the bump of furniture, and stretches across years of memories. So when part of it gets damaged, or you extend a room and suddenly need new boards, the thought of ripping out the entire floor can feel daunting. The good news is that with the right approach, blending new boards into the original is very much possible.
We at Wally's Carpet & Tile have been a family-run flooring company since 1954, proudly serving San Bernardino, Yucaipa, Upland, and Rancho Cucamonga, along with many surrounding Inland Empire communities. Over the decades, our flooring experts have walked into countless homes where a section of hardwood flooring needs to blend with floors installed years, sometimes decades, earlier. The process takes patience, but it works beautifully when you know what to look for.
Why matching hardwood is more art than science
Wood is a natural material, which means no two boards are ever truly identical. Even within the same species, color and grain shift from tree to tree, and once a floor sits in a home for years, sunlight and air change it further. Matching it well comes down to reading what's already there and finding the closest possible fit.
Start with what's actually on your floor
Before shopping for new planks, take a close look at the wood you already own. Identify the species first, whether it's oak, hickory, maple, walnut, or something else, and note whether the boards are solid or engineered. The plank width, edge style, and finish sheen all matter too. A high-quality photograph in natural light can help when you bring samples home or visit a showroom.
Species, cut, and grain do the heavy lifting
The biggest visible difference between two hardwood floors usually comes from species and cut. Red oak looks nothing like hickory side by side, and even quarter-sawn oak reads differently than plain-sawn oak. Matching the cut is just as important as matching the species, and skipping this step is where most DIY blending efforts go sideways.
If only a small area is damaged, a targeted flooring repair can be enough to bring everything back into harmony without touching the rest of the room. For larger sections, you may need to source enough matching wood to complete a smooth transition.
A few rules to keep in mind
Before you commit to a batch of new boards, run through this short list:
- Pull a board from a closet or inconspicuous area so you can carry it in for direct comparison.
- View samples in the actual room and in natural daylight, not under showroom lighting.
- Account for the aging of your existing floor, since fresh wood will almost always look lighter at first.
- Confirm the plank width and thickness so the new boards sit flush with the old.
- If the floor has been refinished before, factor that into the stain and sheen you choose.
Working with color, stain, and finish
Even when species and cut line up perfectly, color is where matching often gets tested. Older wood develops a patina that fresh boards simply don't have yet. In some cases, new sections can be stained slightly darker to bridge the gap, the surrounding area can be sanded and refinished, or a clever transition can be designed where the two zones meet.
This is where professional flooring installation really earns its keep. A seasoned installer often feathers new boards into the original layout, staggering joints and reusing salvageable planks from less visible spots, so the eye never lands on a hard seam.
Find the right match for your hardwood floor
Matching hardwood takes a careful eye, and we'd love to help you get it right. Bring in a sample of your existing floor and our flooring experts can compare species, stains, and finishes to find your closest fit. If getting to a showroom is tricky, we can schedule a shop-at-home appointment and bring the samples directly to your living room so you can see them in the light they'll actually live in.